Monday, June 12, 2023

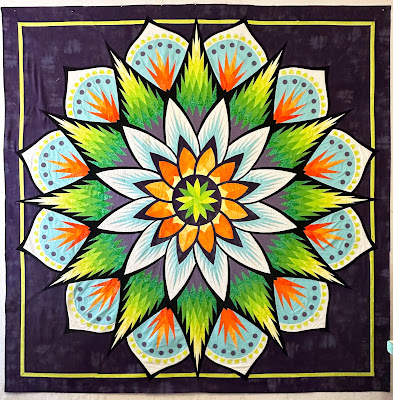
Carnival Flowers - part six - top all done

This is a continuation of 5 previous posts about the making of Carnival Flower - a Judy Niemeyer technique quilt.  This was the final round of pieces and is the center section.  I have already sewn the rest of the pieces together in their respective sections, so the rest of the sewing went rather quickly.  Crossing my fingers that it lays flat when I'm done!

Anyway, here is the top on the design wall all sewn together.  I think it really glows!


I like it a lot and hope you do too!

Monday, June 5, 2023

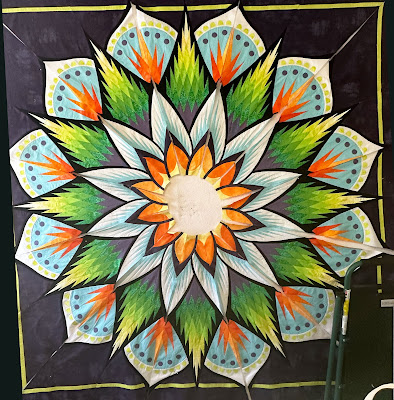
Carnival Flower - Part Five

This is a continuation of 4 previous posts about the making of Carnival Flower - a Judy Niemeyer technique quilt.  I'm so glad that I'm taking the class every month.  There are so many new things for me to learn and my teacher is excellent!  The other people in the class are still sewing this quilt, but are already looking forward to the next one.  Most of them have done several other quilts and are devotees of the Judy Niemeyer patterns, the teacher, and each other.  It's so fun to sew with them.

This is the fifth round of pieces for this quilt.  They have double curved seams, paper pieced.  So clever and so accurate.  I wouldn't have been able to do this section without doing other curved seams in previous rounds.  Anyway, here it is on the design wall.


I still like it and hope you do too!

Friday, June 2, 2023

Green Butterfly Lady - Part Five

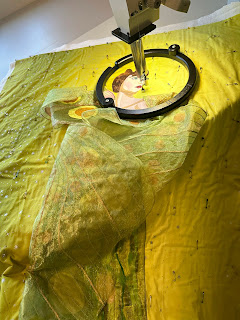
This is a continuation of 4 previous posts about the making of the Green Butterfly Lady.  It was time to quilt and embellish the piece.    I had to leave the wings free so that I could do the quilting, but I also had to layer them behind the lady and her arms, so they were stitched down there.  This was a difficult way to quilt the background... I'm telling you!  

Here is a picture of the wings 'sandwiched' over the body so that the quilting could be done behind he wings.


After I quilted the piece, I needed to fuse down the arms and stitch them in place.  However, the arms were too see-through and looked limp and, frankly, dead.   I ended up cutting off the left arm and attaching a lightweight batting to the back, then appliqueing it back in place.  I was able to scoot the batting underneath the left arm and applique it in place without having to cut it off.  Here's the arms showing the batting.


And, here is the top all quilted ad ready for the embellishments.


I like how it has turned out so far and can't wait to start adding the embellishments.
I hope you like it so far too!