Showing posts with label Katie Pasquini Masopust. Show all posts

Monday, January 22, 2018

Masterpiece quilt from Katie Pasquini-Masopust class - part Two

This is a continuation of a previous post about a tree quilt that I made based on lessons I learned in a Katie Pasquini-Masopust class.

I originally thought that I would add light gray organza to the background in this quilt to give it that really foggy look.  But I changed my mind part way through and decided to use tulle over the top of everything.  That helped to hold all the little pieces in place while it was being quilted.

I quilted the piece using cotton batting, several different colors and types of thread,  and faced the piece.

The Snag by Joanne Adams Roth 2017


I hope you like it!


Monday, January 15, 2018

Masterpiece quilt from Katie Pasquini-Masopust class - Part One

I wrote an earlier post about a class sample that I made in Katie Pasquini Masopust's class.  She encouraged us to take a picture of our own and, using her technique, turn it into our masterpiece.  I decided to use a picture that was taken of a craggy tree on a foggy hike.  Here is the picture with the overlay of the intended quilt.


And here is the drawing blown up to size (32" x 62") and colored and labeled.


I pulled three stacks of fabric colors - orange, red, and black/white.  These were sorted into 7 steps and the fun began.


I used the colored piece as my map, and used the second piece for my pattern.  The pattern was cut out one piece at a time and used as a template to cut out the material.  This quilt has raw edges throughout, since the turning of all the edges of all those pieces didn't seem like anything I wanted to do.  So, I used a combination of basting spray and fusible web to get the pieces stuck up on the design board.  These pieces were stuck right onto the batting.  Here is a progress picture:


Once I had all of the pieces cut and put up on the wall, I took a black and white photo and saw some problems.   Here is the picture, can you see the problems too?


The problems:
1.  I felt that there was too much dark on the left side, which made the piece feel unbalanced.  Even though that was the way it was in the original picture, it just took away from the effect of the tree.  The great big piece of dark gray needed to be changed to something lighter and smaller pieces of light material needed to be added on top of the dark red.
2.  It needed more dark values and branches of foliage on the right hand side.
3.  The pink circle on top looked chopped off, so some of the pieces needed to be changed to match this pink at the top.
4.  Some pieces looked chopped off where the colors changed, so a few pieces had to be added to have continuity in the shapes.
5.  Some of the orange at the bottom was too light.
6.  Some of the orange at the top was too light.

Here's the top with all the changes.  I hope you noticed these issues and can critique and fix your art quilt tops to improve them before you continue onto the quilting process.


Monday, January 8, 2018

Class quilt from Katie Pasquini Masopust

I've been wanting to take a class from Katie Pasquini Masopust for a long time.  I've admired all of her work in all of the stages and have looked at the Alegre Retreats for quite a while.  Well, I didn't sign up for the travel trip, but our quilt guild did hire her to come for a lecture and class.  So, it was with great pleasure that I got a spot in the class.

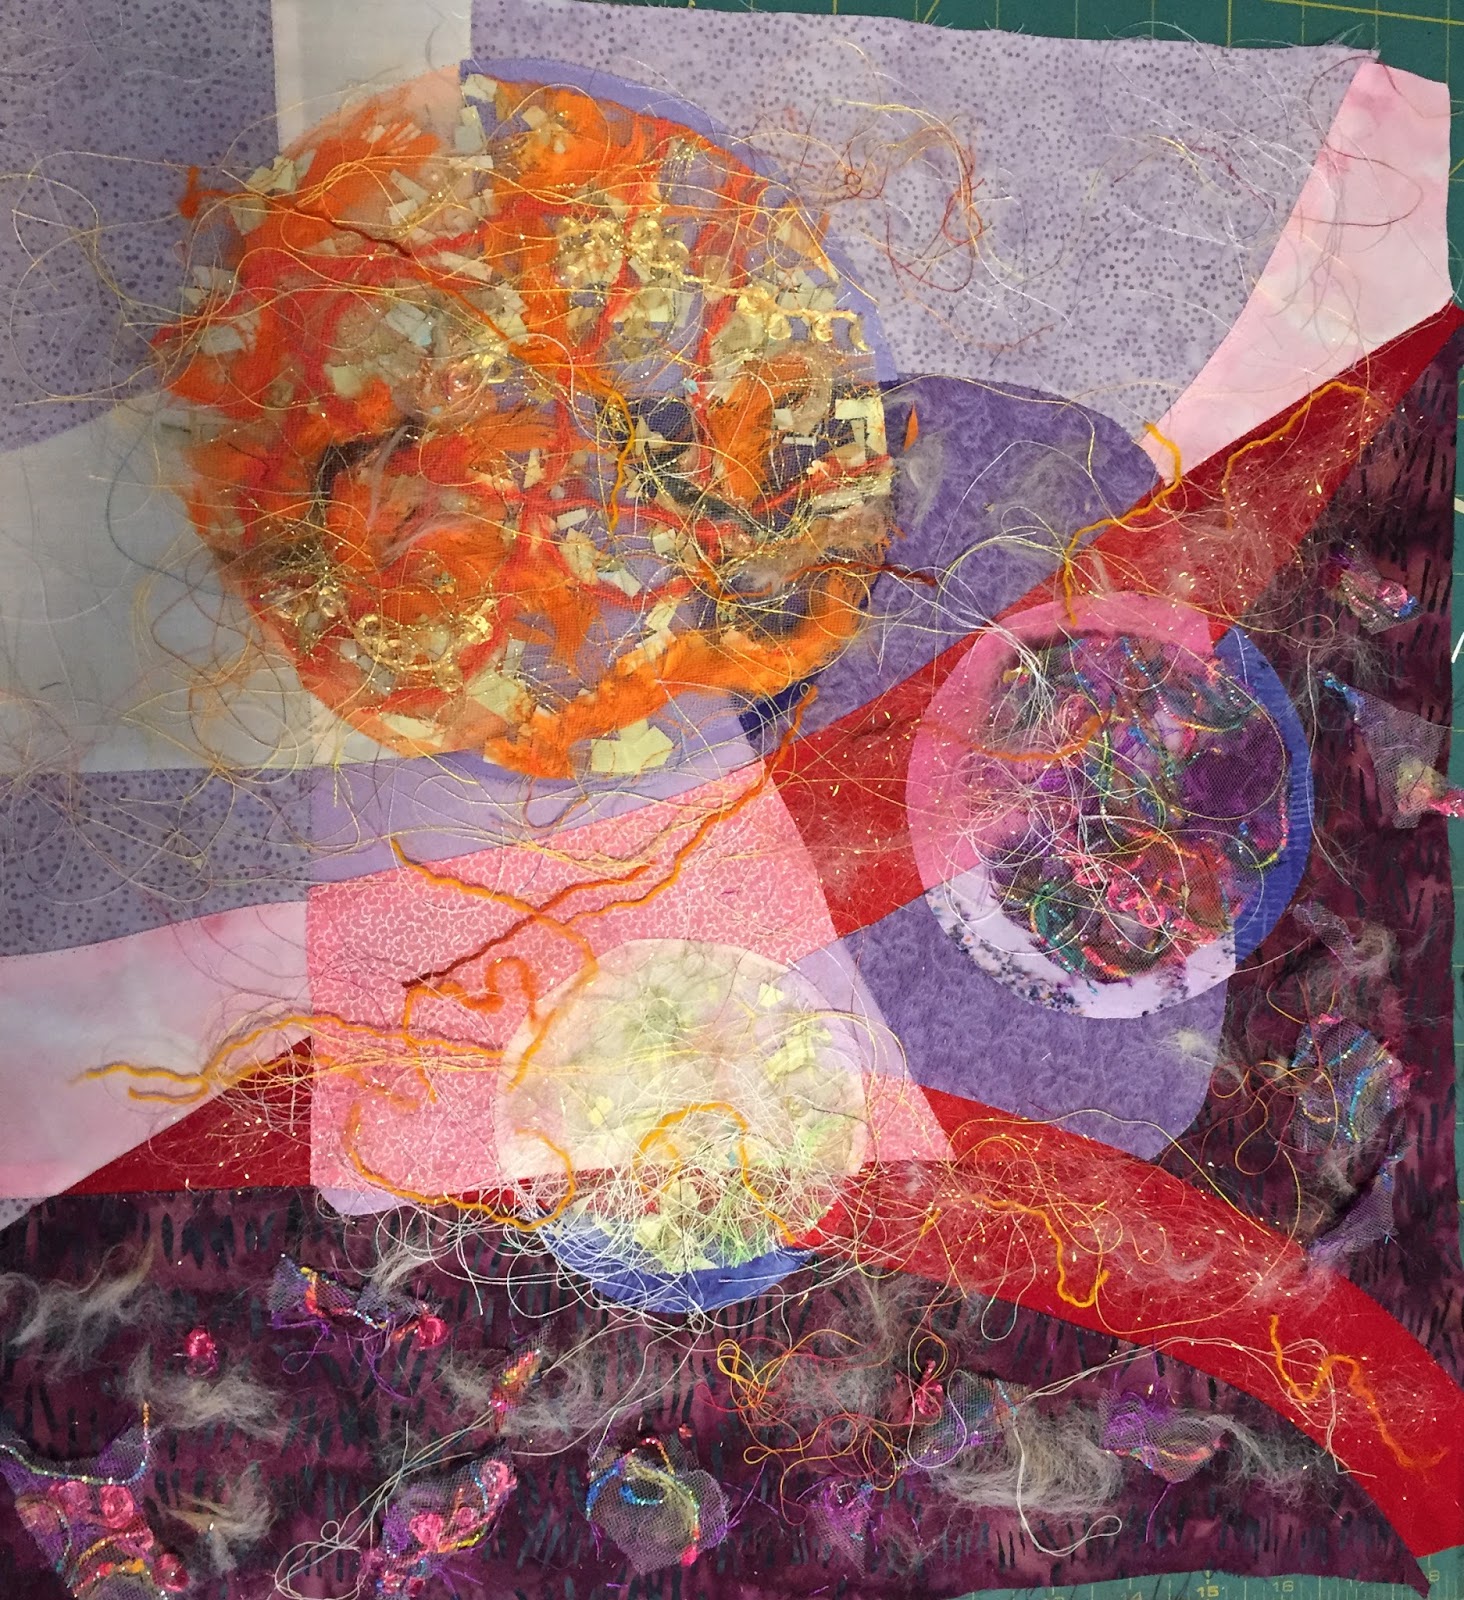
She taught us her ghost layers and color wash technique and we had a fabulous time with her for 2 days.  I did the class exercise the first day and worked off my picture for a larger, more personal, and more difficult quilt to make later.  Here is the piece I started in the class.  It is an abstract free style piece. After all of the pieces were quickly fused to a foundation layer, I zig zagged around all of the edges and tore out the foundation.


At that point, I decided I wanted to make it into another powerline quilt to keep making pieces that fit into my series.  However, I not only thought that my class sample was a little sloppy (as they tend to be), but that it was too dark at the bottom and didn't have any character.  So I pulled out a bunch of threads, yarn, llama fleece, and fabric (that I made from thread and yarn) and piled it on top of the quilt.


Then it all got covered with a white heavy body tulle (from the inside of a bride's dress) and quilted all over in light pink thread.  I feel like the toning down of the bright colors made this piece more unified and less jarring.  Normally, I prefer bold colors, how about you?


It was then slashed and trimmed to allow for the burgundy inserts for the power pole.  I would have put the pole at a slightly different angle, but I wanted to cover up the strong diagonal line that I had in the piece, which felt like it was cutting the design in half.   Now it looked more like an abstract landscape than just a jumble of shapes.  On pieces like this, I think you should analyze each step and not be afraid to change directions.


The final step was to quilt it with straight lines in both burgundy and pink threads to mimic power lines.  I decided to bind this quilt, as it was fairly thick with all the layers and I knew it would be too hard to turn and double the thickness with a facing finish.

Anyway, here is the final quilt.  It's 18" x 18".

Powerline #7 - Pasquini's Pole by Joanne Adams Roth 2017


I hope you like it!