Monday, January 8, 2018

Class quilt from Katie Pasquini Masopust

I've been wanting to take a class from Katie Pasquini Masopust for a long time.  I've admired all of her work in all of the stages and have looked at the Alegre Retreats for quite a while.  Well, I didn't sign up for the travel trip, but our quilt guild did hire her to come for a lecture and class.  So, it was with great pleasure that I got a spot in the class.

She taught us her ghost layers and color wash technique and we had a fabulous time with her for 2 days.  I did the class exercise the first day and worked off my picture for a larger, more personal, and more difficult quilt to make later.  Here is the piece I started in the class.  It is an abstract free style piece. After all of the pieces were quickly fused to a foundation layer, I zig zagged around all of the edges and tore out the foundation.


At that point, I decided I wanted to make it into another powerline quilt to keep making pieces that fit into my series.  However, I not only thought that my class sample was a little sloppy (as they tend to be), but that it was too dark at the bottom and didn't have any character.  So I pulled out a bunch of threads, yarn, llama fleece, and fabric (that I made from thread and yarn) and piled it on top of the quilt.

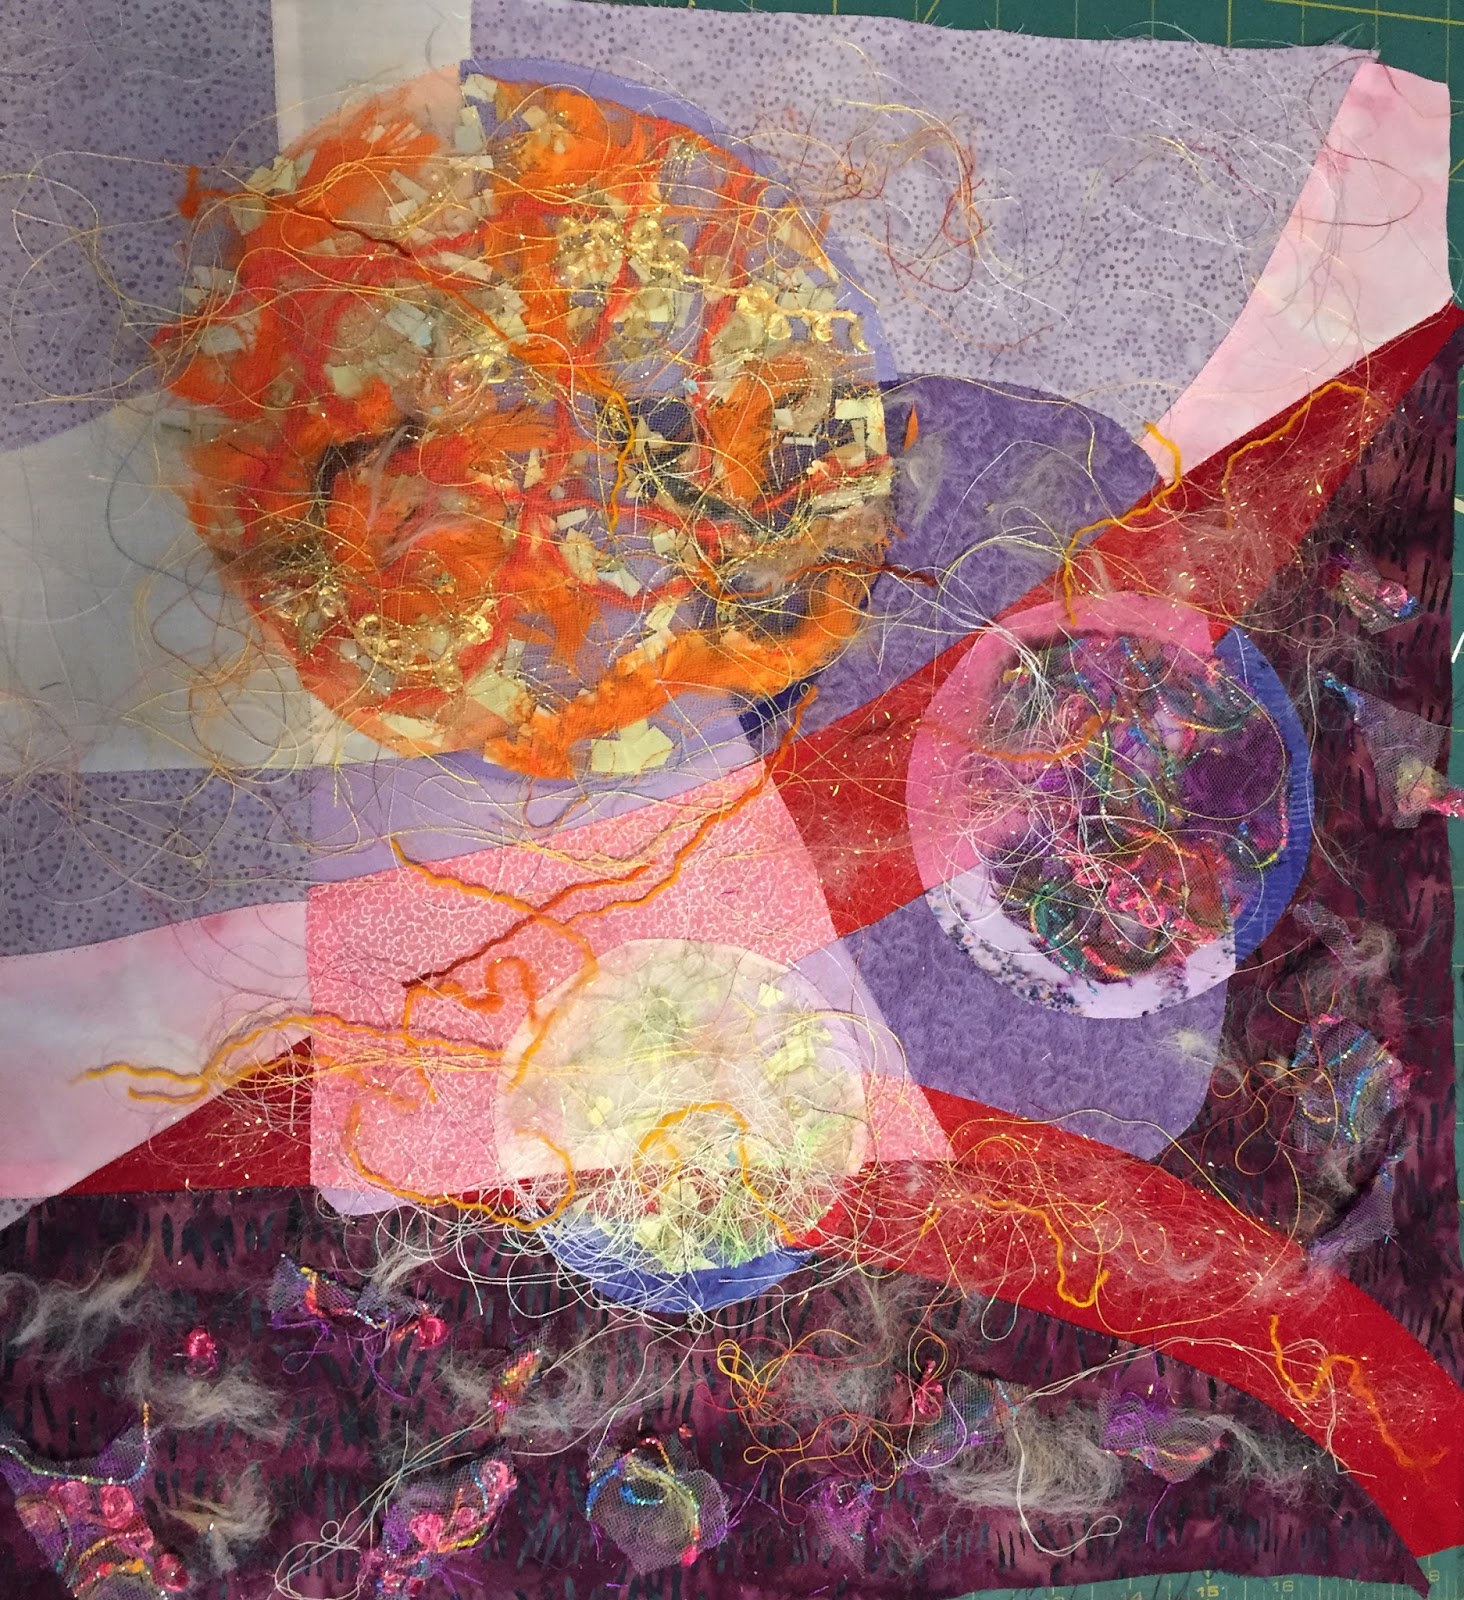

Then it all got covered with a white heavy body tulle (from the inside of a bride's dress) and quilted all over in light pink thread.  I feel like the toning down of the bright colors made this piece more unified and less jarring.  Normally, I prefer bold colors, how about you?


It was then slashed and trimmed to allow for the burgundy inserts for the power pole.  I would have put the pole at a slightly different angle, but I wanted to cover up the strong diagonal line that I had in the piece, which felt like it was cutting the design in half.   Now it looked more like an abstract landscape than just a jumble of shapes.  On pieces like this, I think you should analyze each step and not be afraid to change directions.


The final step was to quilt it with straight lines in both burgundy and pink threads to mimic power lines.  I decided to bind this quilt, as it was fairly thick with all the layers and I knew it would be too hard to turn and double the thickness with a facing finish.

Anyway, here is the final quilt.  It's 18" x 18".

Powerline #7 - Pasquini's Pole by Joanne Adams Roth 2017


I hope you like it!

Friday, January 5, 2018

printing blogs into books

I read on a friend's blog about getting her blogs printed into books.  This was a great idea for my upcoming quilt show!  Many people know about my quilts, but not so many know that I write a weekly blog about quilting, inspiration for quilting, and everything else close to that subject.

So, I checked into it.  I ended up with blog2print because it was so easy to do, and because they had a special discount for a couple of weeks.

Things I learned:

1.  Don't chose to compact version.  They scrunch the photos and the subtitles into the body of the blog, and it really messes up being able to read them later.  Just pay for the extra pages.
2.  Start each blog on a new page.  This also adds pages, but it feels more like a chapter in a book.  You'll have a fresh start to each blog.
3.  Find some fun pictures for the front and back of the book.  I love to take shadow selfies and this looked really good on the back.
4.  Write soomething clever for the dedication.
5.  Delete pages or blogs that you really don't like.  Heck, delete them from your blog too!
6.  And remember, if you write it in your blog and post it to the internet, anyone and everyone can read it.  So be kind.

That's about it.

Happy blogging and make some books out of your blogs!

Monday, January 1, 2018

Art Nest Quilt #22 - Confetti II, The Eclipse

This is my 22nd nest art quilt.  It is the second in my confetti nest series.  I used scraps from making charity quilts to make the nest.  It worked well with a blue ombre fabric that I had in my stash.  And I thought that it called for a pop of color in the birds.

I sketched up some ideas for the birds and placed them on the background.  My plan is to make it a little bit funny by adding eclipse glasses on all but one of the birds.


And here I am showing how I have auditioned the orange fabrics that I thought about using.  I love how much freedom I get in the design process with my design board.  I can get a much better idea of how things are going to look by pinning stuff on the wall, then stepping back for a better view.  Do you have a design wall too? I hope so!


I ended up making the birds with several colors of orange and (my favorite) lime green.  Embroidery and beading were added, as well as a small bit of shading with ink.  Here are a few close ups of the birds.


And here is the final quilt.


Nest #22 - Confetti II, The Eclipse by Joanne Adams Roth 2017


I hope you like it!

Monday, December 25, 2017

The Eclipse art quilt - part Two

This is part two of the posting about the making of the Eclipse quilt.

I started quilting the top before I did a sketch of the quilting, then realized that I needed to take a step backwards and do some sketching before I could keep going.


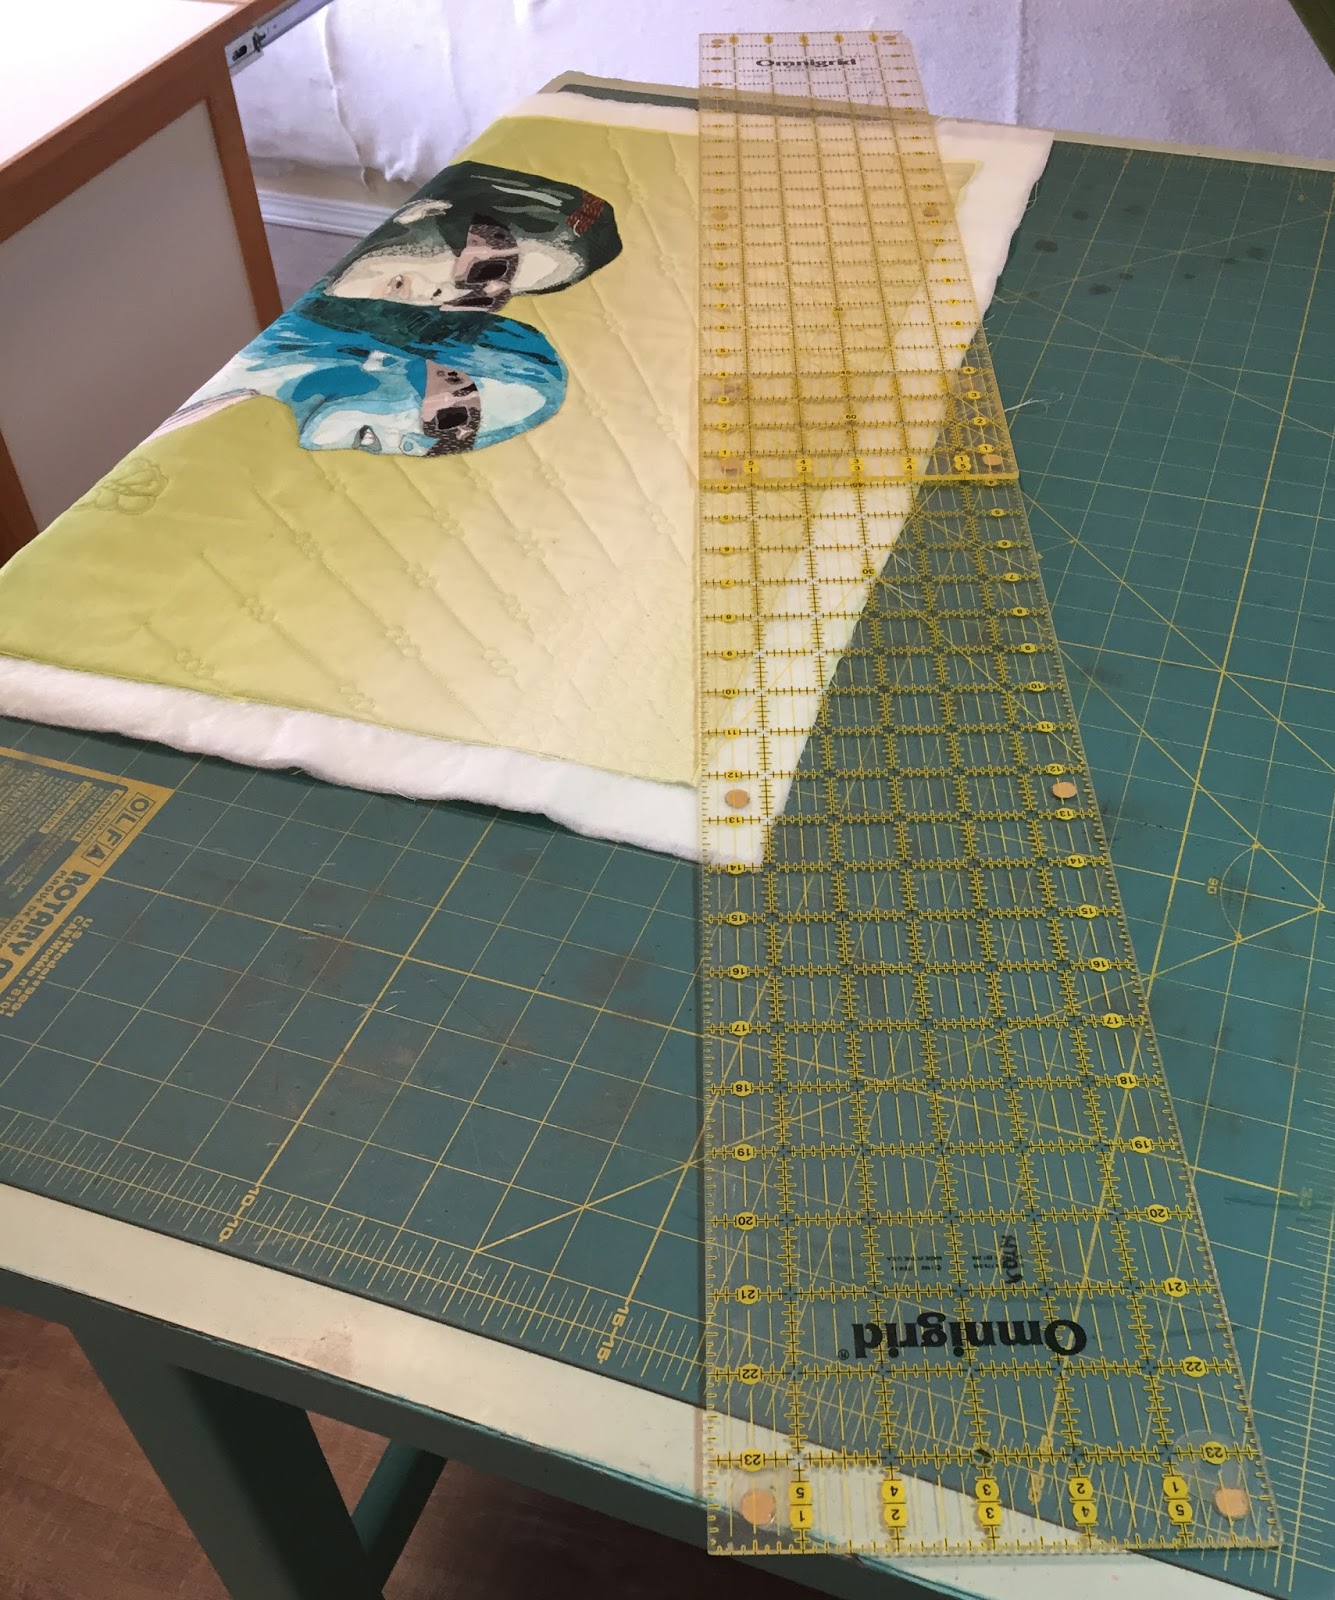
I picked the one in the lower left and did some marking before I got back to the stitching.  Using the corner of my cutting mat for the vanishing point and two long rulers, I marked the quilting lines for the sky.  Here are 3 pictures showing the placement of the rulers.


Now that I've looked at the pictures, I realize how dirty and dingy my cutting mat has become.  Perhaps I can use my next 40% off coupon for a new cutting mat!  Say yes!

I used many types and colors of thread to quilt this piece, because I wanted to preserve the colors already there.  I also quilted a little in each area first, then filled in more in each area after that so that I didn't face the problem of having puffy areas to mash down.

Here is the finished quilt.

The Eclipse by Joanne Adams Roth 2017


I hope you like it.


Monday, December 18, 2017

The Eclipse art quilt - Part One

We traveled to Salem, Oregon to see the full eclipse of the sun in August with 2 of our granddaughters.  It was a once in a lifetime event for us to be in the path of totality.  Very special for all of the adults there.  But what made it even more special was to see it through the eyes of children.  I wanted to make an art quilt in remembrance of this event.

Here is the picture that I started with:


Here is the cropped photo that started the quilt.


After posterizing and turning the picture into black and white, I had a full sized print made.  The process of posterizing helps to select fabric in shades.  I used 6 shades for this art quilt.  Oh, and thanks goes out to Lynn Czaban who taught me this technique.


The nest step was to trace the picture as the values.


I used a different colorway for each girl.  I hope that they appear different from each other.  One of the girls likes turquoise, and the other one likes pale green.  I had to go shopping (of course!) for some of the right colors.  I decided to make the glasses in gray tones after I tried doing it first in the colors of the girls.    (That didn't work!).


After I added all of the fabric pieces, I tested different backgrounds and liked the ombre green.  It was all fused down to the background.  I used some picture matting to figure out where I liked the edges of the picture.   Then I added some stitching and ink work, after zig zag stitching around all of the pieces.


I'll continue the the quilt with a second posting.

I hope you like it and that you have special memories that you can use in your quilts.


Monday, December 11, 2017

Scissors

I used to think you only needed a few pairs of scissors for sewing.  Heck, my Mom had the one big pair in the house and everyone used it for everything.  Sound familiar?  I learned a long time ago to guard my precious sewing scissors and only use them for fabric.  (And get them sharpened once in a while).  I added small ones early on for cutting threads and of course the pinking shears.  But, every time I am around other quilters, I seem to notice another pair that I just have to get for myself.  I now have almost a drawer full of them.  My preferred manufacturers are Kai , Gingher and Fiskars.  Here's the styles I like and recommend.

Tiny sharp points
I can't live without scissors that snip cleanly into a tiny tight spot.  My favorite brand is Kai, but I do have several others that I've used over the years.  The points should be so tiny and sharp that you literally stab yourself from time to time.  (Not on purpose). I like that these scissors come with a little sheath and a cord to hang around your neck.


Spring loaded thread clippers.
I have 2 pairs of these from Fiskars.  One is so worn out, I probably need to replace it.  These are a wonderful pair to clip threads at the sewing machine, or anywhere else when you cut a lot of thread.  The spring loaded feature means that you exercise your hand less since you don't have to open the scissors first.  I believe these come in several sizes, but this is the size I like to use.  They fit into all of my traveling sewing kits.


Large handles, small blades
I was first introduced to this style by Sharon Schamber.  They are great when you have to do a lot of  tedious trimming (think applique).  Since most small scissors also have tiny handles, this style really helps your hand from getting tired.  Much more ergonomic.  The pair on the right are from Karen Kay Buckley.  They are micro-serrated and super sharp.


Large blades and large handles
We probably all have one of these styles.  I have several including the classic Gingher from my garment sewing days, one from Kai because they are so comfortable, and an old Fiskars pair, mostly for cutting interfacing, dissolving products and paper patterns.


Blunt edge, applique
If you do any trapunto or like to cut away the background from an applique pieces these are very handy.  The blunt (or rounded) edge won't stick into your fabric and slides nicely right up to the edges.  I'm sure there is a proper name for this type, but I can't think of it right now.


Serrated edge for applique
A relatively new introduction to me are the tiny serrated edged scissors  They hold the edge of the fabric as you cut out your applique pieces and are very useful on tiny pieces or pieces on the bias.  I love the little green ones shown above from Karen Kay Buckley.  People who do more sewing than quilting would probably like the larger styles.

Medium sizes for clipping corners and small pieces
I have several different sizes in the medium range, and I like all of the Kai scissors for their different lengths and comfortable handles.  I also like Fiskars.


Pinking Shears
These are so great for sewing garments and home dec.  I don't use them that much in quilting, but I know several people who pink the edges of their fabric before they pre-wash it.  Nice to have when you need them.


Paper Cutting
I reserve two pairs for paper cutting and use these when I do pattern work, for cutting fusible release papers, and for whenever it feels like I'm cutting something that will dull my scissors.  These are my more inexpensive scissors, and I don't mind if anyone in the house grabs them for cutting something.


I hope you check out the scissors at your local quilt store, your local fabric store, and the manufacturer's booths at regional quilt shows.  You never know when you'll see that new perfect pair of scissors.  Happy cutting!


Monday, December 4, 2017

Slice and Dice Square in a Square - or Magic Inch Quilt

I saw this quilt made on Nancy Zieman's show on PBS,  "Sewing with Nancy".   Here is the link to it on her webpage:  Magic Inch Quilts .  The guests that designed it are Bill Kerr and Weeks Ringle.


When I saw it, I took a picture of the TV screen so that I would have the idea when I needed it.  I always have my phone with me and I always tape the show.  So it's easy to stop the playback and take a picture.  I love having a camera in my cell phone!  Don't you?  This quilt, I decided right from the start, would be a fun one to make while traveling in our trailer.  It's basically a square in a square block that gets slashed 3 times to allow for inserts of striped fabric.  The end result gives you the illusion of floating strips and squares.  So modern.  I love it!

I designed it to use a 6" block, 2-1/2" strips for the outer block, and 1" strips for the inserts.  I don't remember if these were the measurements used on the show, but for sure the 1" insert was the key.

I wanted to make it from fabric I already had on hand, so I pulled out a large piece of gray for the background (outer part of the block), some solids that I had left over from a class, and some striped fabric.


Not too far into the project, I realized that I didn't have enough of the black and white stripe.  So I went with my friends to Country Manor Quilt shop in Battle Ground, WA and found the exact fabric I needed.  I bought the rest of the bolt since it was only 1-3/8 yards.  I also found some striped black/red/white materials that I wanted for the next quilt.  I only bought a yard, and hoped that this would be enough to finished the second quilt.

I sewed just enough of the blocks to make sure the measurements would work, and then cut out all the material before our trip.  It was easy to piece with my little featherweight in the trailer and here is the finished top.


I took it over to our charity group so that they can put together a backing and batting and get it one of our long arm ladies to get it quilted.

I hope you see quilts you like on TV shows too!